Blog
The Ultimate Guide to Beer & Cellar Gas: Everything You Need for the Perfect Pour
Ever had that heart-sinking moment when you pull a pint and it’s 90% foam? Or perhaps worse, you serve a drink that’s as flat as a pancake, leaving your customers (or your mates at the garden bar) looking less than impressed?
We’ve all been there. Achieving the "perfect pour" isn’t just about the technique of the tilt; it’s a science that happens behind the scenes in the cellar. Whether you’re running a bustling local pub, a trendy craft beer taproom, or you’ve finally built that dream home bar in the shed, your gas supply is the unsung hero of the operation.
At Bottle Gases, we know that managing your gas shouldn't feel like a second job. That’s why we’ve put together this ultimate guide to help you navigate the world of Beer & Cellar Gas Solutions. We’ll break down the types of gas you need, how to set up your kit safely, and how to stop burning money on those pesky recurring rental fees.
Why Does Gas Matter So Much?
Think of your beer gas system like the fuel system in a car. You could have a Ferrari-level beer (a top-tier craft IPA or a premium lager), but if the fuel delivery (the gas) is wrong, the car isn't going anywhere fast.
Gas does two vital jobs:
- Carbonation: It keeps the "fizz" in the beer, ensuring the taste and mouthfeel stay exactly how the brewer intended.
- Dispensing: It provides the pressure needed to push the liquid from the keg, through the lines, and out of the tap.
If your pressure is too low, the beer goes flat and pours slowly. If it’s too high, you’ll be serving a glass of bubbles that costs you a fortune in wasted stock. Finding that "sweet spot" is the key to a profitable cellar and a happy drinker.

Choosing Your Fuel: CO2 vs. Mixed Gas
One of the most common questions we get at Bottle Gases is: "Do I just need a standard CO2 bottle?" The answer, as with most things in life, is: "It depends on what you're pouring."
Pure CO2 Bottles
CO2 Bottles & Canisters are the industry standard for highly carbonated drinks. If you’re serving lagers, ciders, or soft drinks, pure CO2 is usually your best friend. It provides that sharp, refreshing "bite" that people expect from a cold pint of Heineken or a fizzy cola.
Mixed Gas (Nitrogen & CO2)
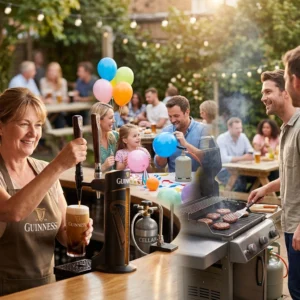
If you’ve ever admired the creamy, velvet head on a pint of Guinness or a smooth ale, you’re looking at the work of mixed gas. Usually a blend of 60% Nitrogen and 40% CO2 (often called 60/40), this mix allows for higher dispensing pressures without over-carbonating the beer.
Using Food-Grade Nitrogen Gas blends prevents the beer from becoming too "gassy." It’s a breath of fresh air for pub owners who want to serve a variety of craft stouts and bitters.
The Essential Toolkit: From Regulators to Lines
Setting up a cellar can feel like trying to assemble flat-pack furniture without the instructions. But once you understand the components, it’s quite straightforward.
1. The Gas Cylinder
Whether it’s a 10L or a 20kg bottle, your cylinder is the powerhouse. At Bottle Gases, we provide a range of sizes to suit everyone from the casual home enthusiast to the high-volume publican.
2. The Primary Regulator
This is the "brain" of the operation. It attaches directly to your cylinder and reduces the incredibly high pressure inside the bottle to a level your system can handle. We always recommend using commercial-grade Gas Regulators & Equipment. Cheap alternatives can suffer from "pressure creep," which slowly increases the pressure over time, leading to foamy beer and potentially dangerous situations.
3. The Secondary Regulator
If you’re running multiple lines (say, a lager and a cider), a secondary regulator allows you to fine-tune the pressure for each individual keg. This is crucial because different drinks require different "push" levels.
4. Gas Lines and Couplers
Braided tubing carries the high-pressure gas, while vinyl tubing usually handles the lower pressure from the regulator to the keg. The coupler is the "handshake" between your gas line and the keg itself.

A Step-by-Step Guide to a Flawless Setup
Ready to get the gas flowing? Follow these steps to ensure a leak-free, high-performance setup:
- Check the Seal: Before you even touch a spanner, check for the nylon washer on your regulator. This tiny piece of plastic is the only thing standing between you and a massive gas leak. If it’s worn or missing, replace it immediately.
- Mount the Regulator: Attach the regulator to the cylinder. Tighten it firmly with a spanner, but don't go "Hulk-mode" on it, you don't want to strip the threads.
- Connect the Lines: Use John Guest push-fit connections for a clean, secure fit. Make sure your cuts are straight; a jagged edge on a tube is an invitation for a leak.
- The "Soapy Water" Test: Once everything is connected, turn the gas on slowly and spray some soapy water on the joints. If you see bubbles, you’ve got a leak. It’s a simple trick that saves you from running out of gas mid-Saturday night.
- Set the Pressure: Slowly turn the regulator dial clockwise to increase pressure. Check the brewer's recommendation for the specific beer you’re serving. Lagers usually sit between 12-15 PSI, while stouts on mixed gas might need 25-30 PSI.
Scenario: Dave’s Micro-Pub Dilemma
Dave recently opened a small micro-pub in Yorkshire. He was using disposable canisters because they seemed "easy," but he quickly realized he was spending more time swapping bottles than serving customers.
He switched to our refillable Beer & Cellar Gas cylinders. Not only did he save money on the gas itself, but because Bottle Gases doesn't charge recurring rental fees, he stopped seeing that monthly "dead money" leaving his bank account. Now, Dave has a 20kg CO2 bottle for his lagers and a 60/40 mix for his local ales, all delivered nationwide to his door.

Safety First: Don't Ignore the PRV
Every keg and most high-quality regulators come with a Pressure Relief Valve (PRV). This is your safety net. If the pressure ever exceeds a safe limit (usually around 120 PSI), the PRV will "pop" and vent the gas safely.
Top Tip: You can also use the PRV to purge your keg. When you first tap a keg, pull the PRV ring briefly to vent any oxygen that might be sitting at the top. Oxygen is the enemy of beer, it makes it taste "cardboardy." Purging ensures only pure gas is touching your brew.
Why Bottle Gases? (The No-Nonsense Advantage)
In the gas industry, there’s a lot of "smoke and mirrors" regarding pricing. Many suppliers will lure you in with a low refill price, only to hit you with monthly rental fees, "environmental charges," and collection costs. It feels like a weight around your neck.
At Bottle Gases, we do things differently:
- No Recurring Rental Fees: You buy the bottle or pay a one-time deposit, and then you only pay for the gas you use. It’s yours to keep for as long as you need it.
- Competitive Pricing: We keep our prices sharp so you can keep your margins healthy.
- Nationwide Delivery: Whether you're in the Highlands or the heart of London, we’ll get your gas to you.
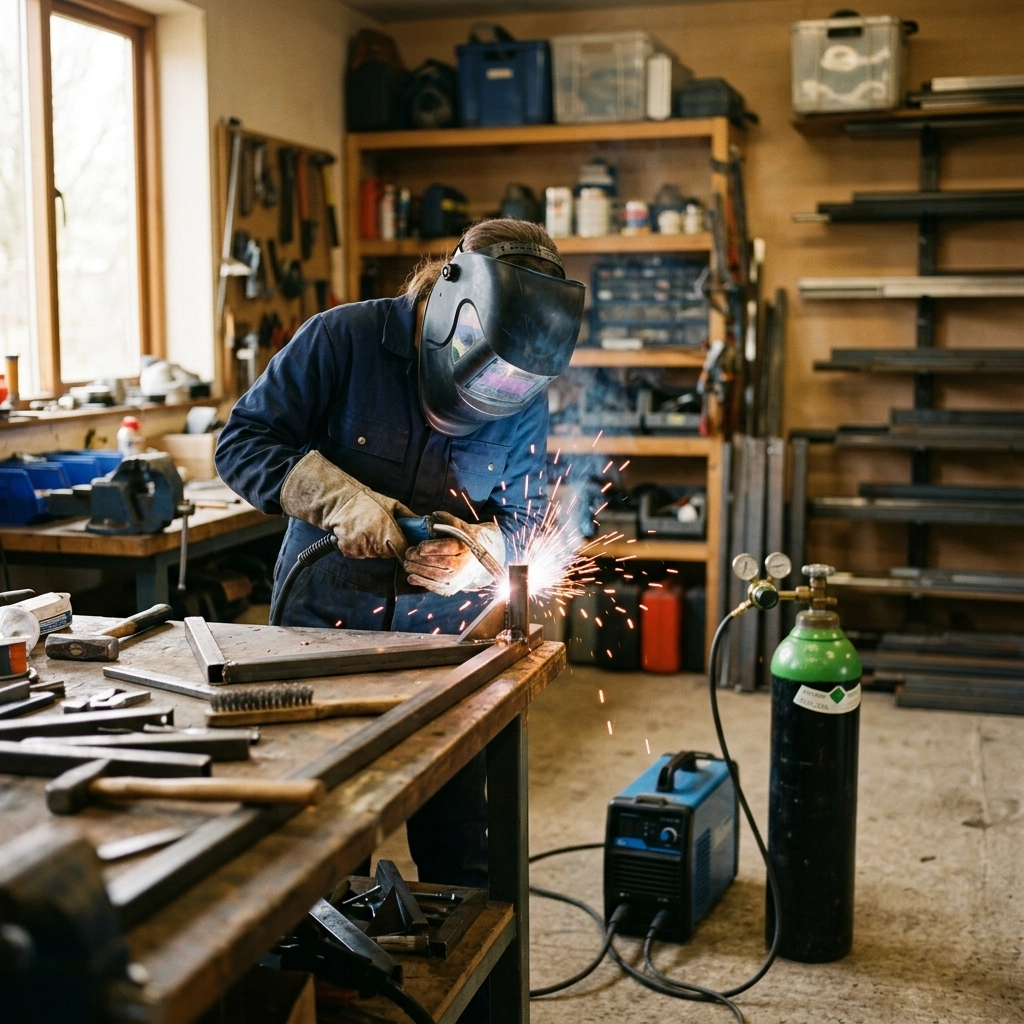
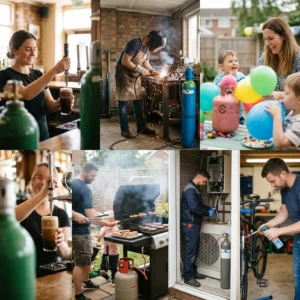
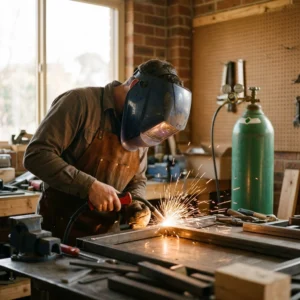
- Versatility: Beyond the cellar, we handle everything from MIG Welding Gas to Helium for Events. We are your one-stop shop for all things industrial gas.

Maintenance: Keeping the Good Times Flowing
A cellar is a living, breathing environment. To keep your pours perfect, make these three habits part of your routine:
- Clean Your Lines: Yeast and bacteria love beer lines. Clean them at least every seven days to prevent "off" flavours.
- Monitor the Gauges: If you notice your high-pressure gauge dropping faster than usual, you likely have a micro-leak.
- Temperature Control: Gas behaves differently in the heat. Keep your cellar (or your kegerator) at a consistent temperature (ideally between 10°C and 12°C for the cellar) to ensure the gas stays absorbed in the liquid correctly.
Elevate Your Pour Today
Whether you are preparing for a massive summer beer festival or just want the perfect pint after a long day at work, your gas choice makes all the difference. Don't let complicated rental contracts and poor-quality gas spoil the experience.
Switching to a reliable, rent-free supply is like a breath of fresh air for your business or hobby. It gives you the freedom to focus on what really matters: serving great drinks and enjoying the company of your customers and friends.
Ready to upgrade your setup? Explore our full range of Beer & Cellar Gas Solutions and discover why thousands of UK businesses trust Bottle Gases for their perfect pour. If you’re also planning a celebration alongside your new bar setup, don’t forget we also stock Helium Gas for Balloons to really get the party started!
Cheers to better beer, lower costs, and the perfect pour every single time.