Blog
TIG Gas 101: A Beginner’s Guide to Mastering Clean Welds
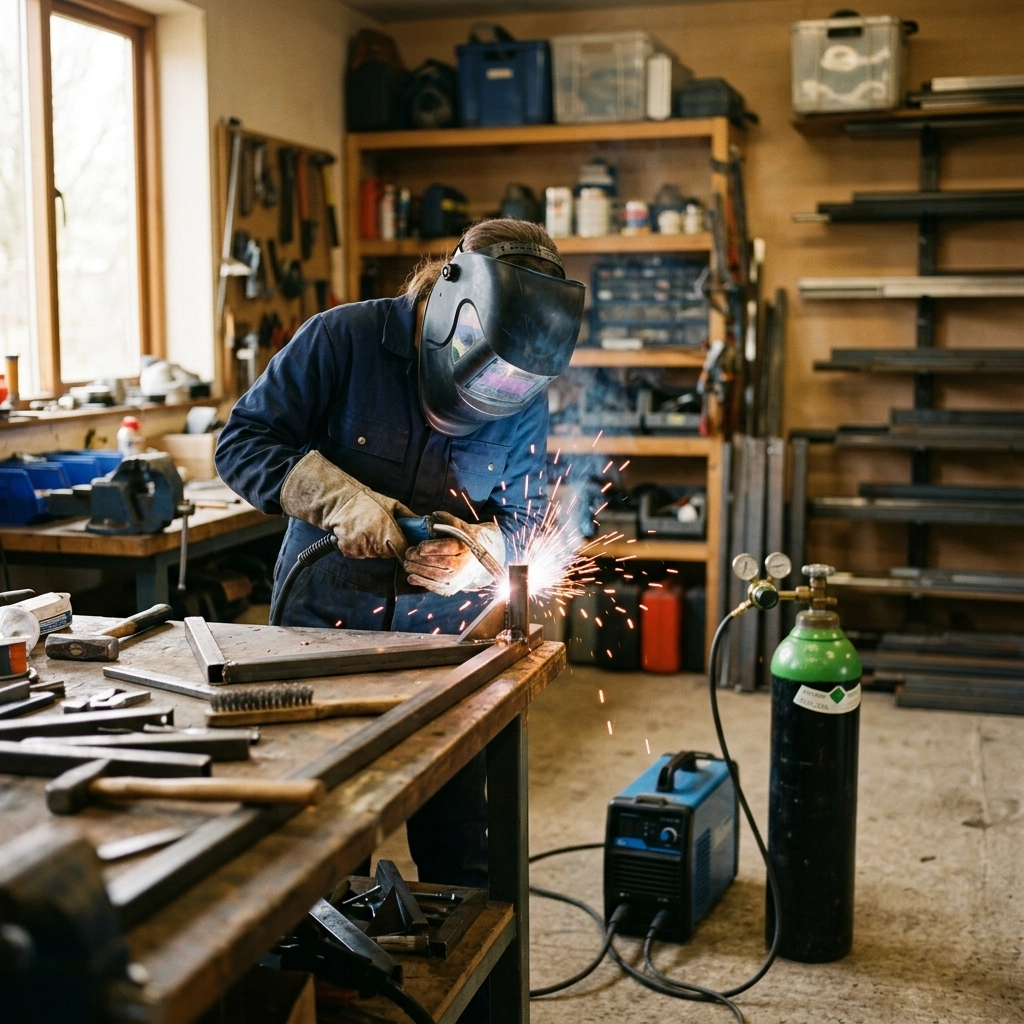
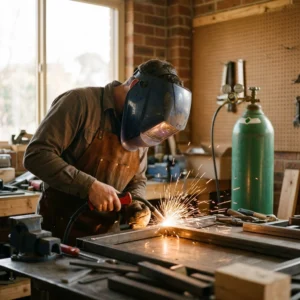
Have you ever spent hours prepping a piece of stainless steel, perfectly cleaning the edges and sharpening your tungsten to a needle point, only to have your weld come out looking like a porous, blackened mess? It’s a frustration every beginner TIG welder knows well. You start questioning your technique, your machine settings, or even your eyesight. But more often than not, the culprit isn't your hands, it’s the invisible partner in your welding process: the shielding gas.
TIG (Tungsten Inert Gas) welding is often considered the "fine art" of the welding world. It’s surgical, precise, and capable of producing incredibly beautiful, strong beads. However, because it’s so precise, it’s also incredibly sensitive. If you don’t get your gas setup right, you’re essentially fighting an uphill battle against the very air around you.
In this guide, we’re going to strip away the jargon and look at exactly what you need to master your TIG gas setup, from choosing the right bottle to dialing in your flow rate, so you can stop worrying about porosity and start focusing on those "stack of dimes" welds.
Why Do We Even Need Gas?
Think of shielding gas as a protective "force field" for your weld. When you strike an arc, the metal becomes molten and incredibly reactive. At those high temperatures, the oxygen and nitrogen in our atmosphere are essentially "bullies", they want to rush in and react with the hot metal. If they succeed, they cause oxidation, which leads to those tiny holes (porosity) and brittle joints that fail under pressure.
The shielding gas flows through your TIG torch and pushes the air away, creating a pure, inert environment where the molten pool can freeze into a solid, clean weld without interference. Without it, TIG welding simply wouldn't work. It’s like trying to paint a masterpiece in the middle of a sandstorm; the gas is the shield that keeps the canvas clear.
Choosing Your Shield: Argon, Helium, or a Mix?
When you browse through our TIG welding gas options, you’ll notice a few different choices. For a beginner, the options can feel overwhelming, but it usually boils down to three main contenders.
1. Pure Argon: The All-Rounder
If you’re just starting out, pure Argon is your best friend. It’s the "gold standard" for TIG welding because it’s incredibly versatile. Whether you’re working on mild steel, stainless steel, or aluminium, pure Argon provides a stable arc and excellent cleaning action. It’s also the most cost-effective option, making it perfect for hobbyists and those just learning the ropes.
2. Helium: The Heat Booster
Helium is like adding a turbocharger to your weld. It conducts heat much better than Argon, which means it creates a hotter arc and deeper penetration. You’ll usually see professionals using Helium (or Argon-Helium mixes) when they are working with very thick aluminium or copper. However, Helium is more expensive and can make the arc a bit more "erratic" for a beginner to handle.
3. Argon-Helium Mixes
These mixes try to give you the best of both worlds, the stability of Argon with the heat of Helium. For most home workshops and light industrial tasks, however, you’ll find that pure Argon does 95% of what you need it to do.
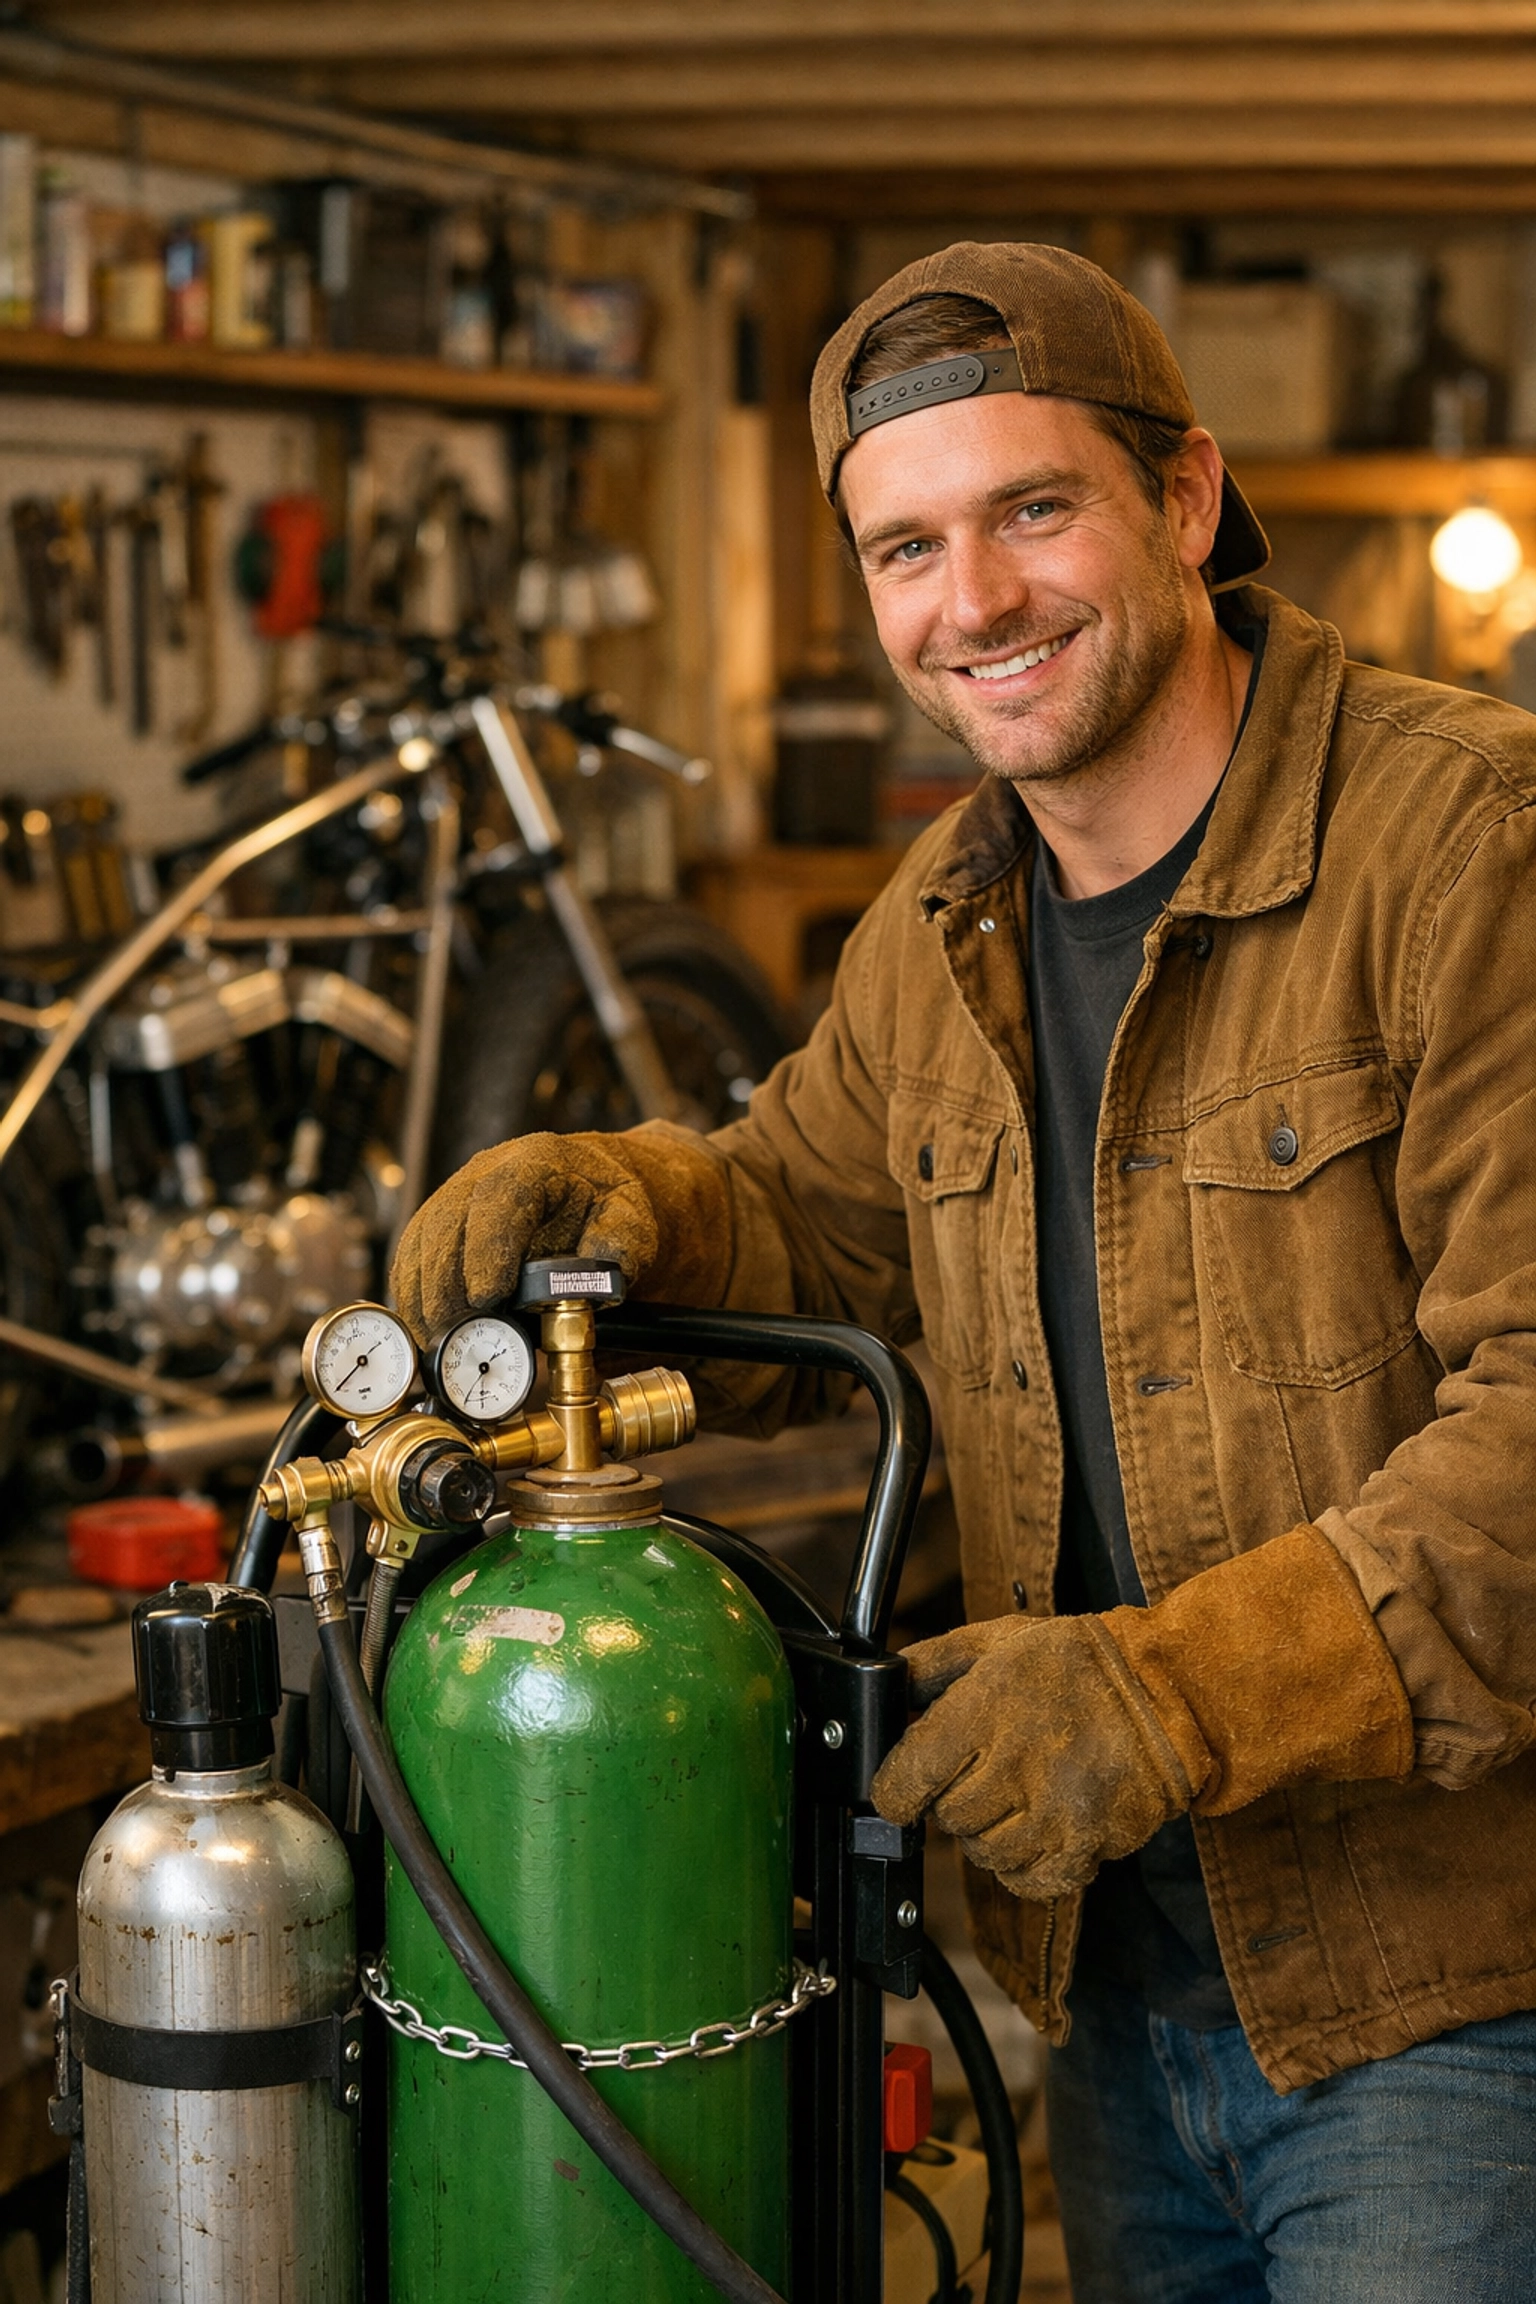
The Rent-Free Revolution: Why Ownership Beats Rental
If you’ve looked into getting gas before, you might have been put off by the "old way" of doing things. Traditionally, you’d have to pay a monthly or yearly rental fee just to have the bottle sitting in your garage. If you’re a DIY enthusiast or a small business owner who doesn’t weld every single day, those fees can feel like a "gas tax" that never ends.
At Bottle Gases, we do things differently. We believe that owning your gas should feel like owning your tools, not like a subscription service you forgot to cancel. We offer a rent-free model. You pay a one-off deposit for the cylinder, and then you only pay for the gas refills when you actually need them.
Imagine it like car ownership vs. a daily rental. If your car is sitting in the driveway, you aren't paying a rental company for the privilege of it being there. Why should your gas bottle be any different? This approach is a breath of fresh air for the UK welding community, especially when combined with our competitive pricing and nationwide delivery.
Setting the Flow: Don't Blow Your Budget
One of the most common mistakes beginners make is turning their gas flow up way too high. They think "more gas equals more protection," right? Not quite.
If the gas flow is too high, it actually becomes turbulent. Instead of a smooth "blanket" of gas, it starts swirling, which can actually suck air into the weld zone, the exact thing you’re trying to prevent! Plus, you’re literally blowing money out of the end of your torch.
The Golden Rule for Flow Rates:
For most TIG applications using a standard nozzle, you’re looking at a flow rate of 8 to 12 Liters per minute (LPM).
- Indoor/Draft-free: Aim for the lower end (8L).
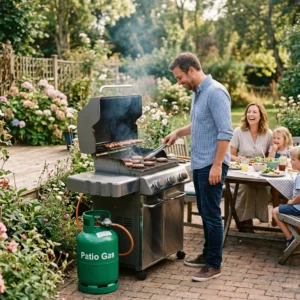
- Slight breeze/Outdoor: You might need to bump it up to 12L or 14L, or use a "gas lens" to keep the flow stable.
To get this right, you’ll need a quality gas regulator. Don't rely on the cheap ones that sometimes come with entry-level machines; a precise regulator will pay for itself in saved gas over the first few months of welding.
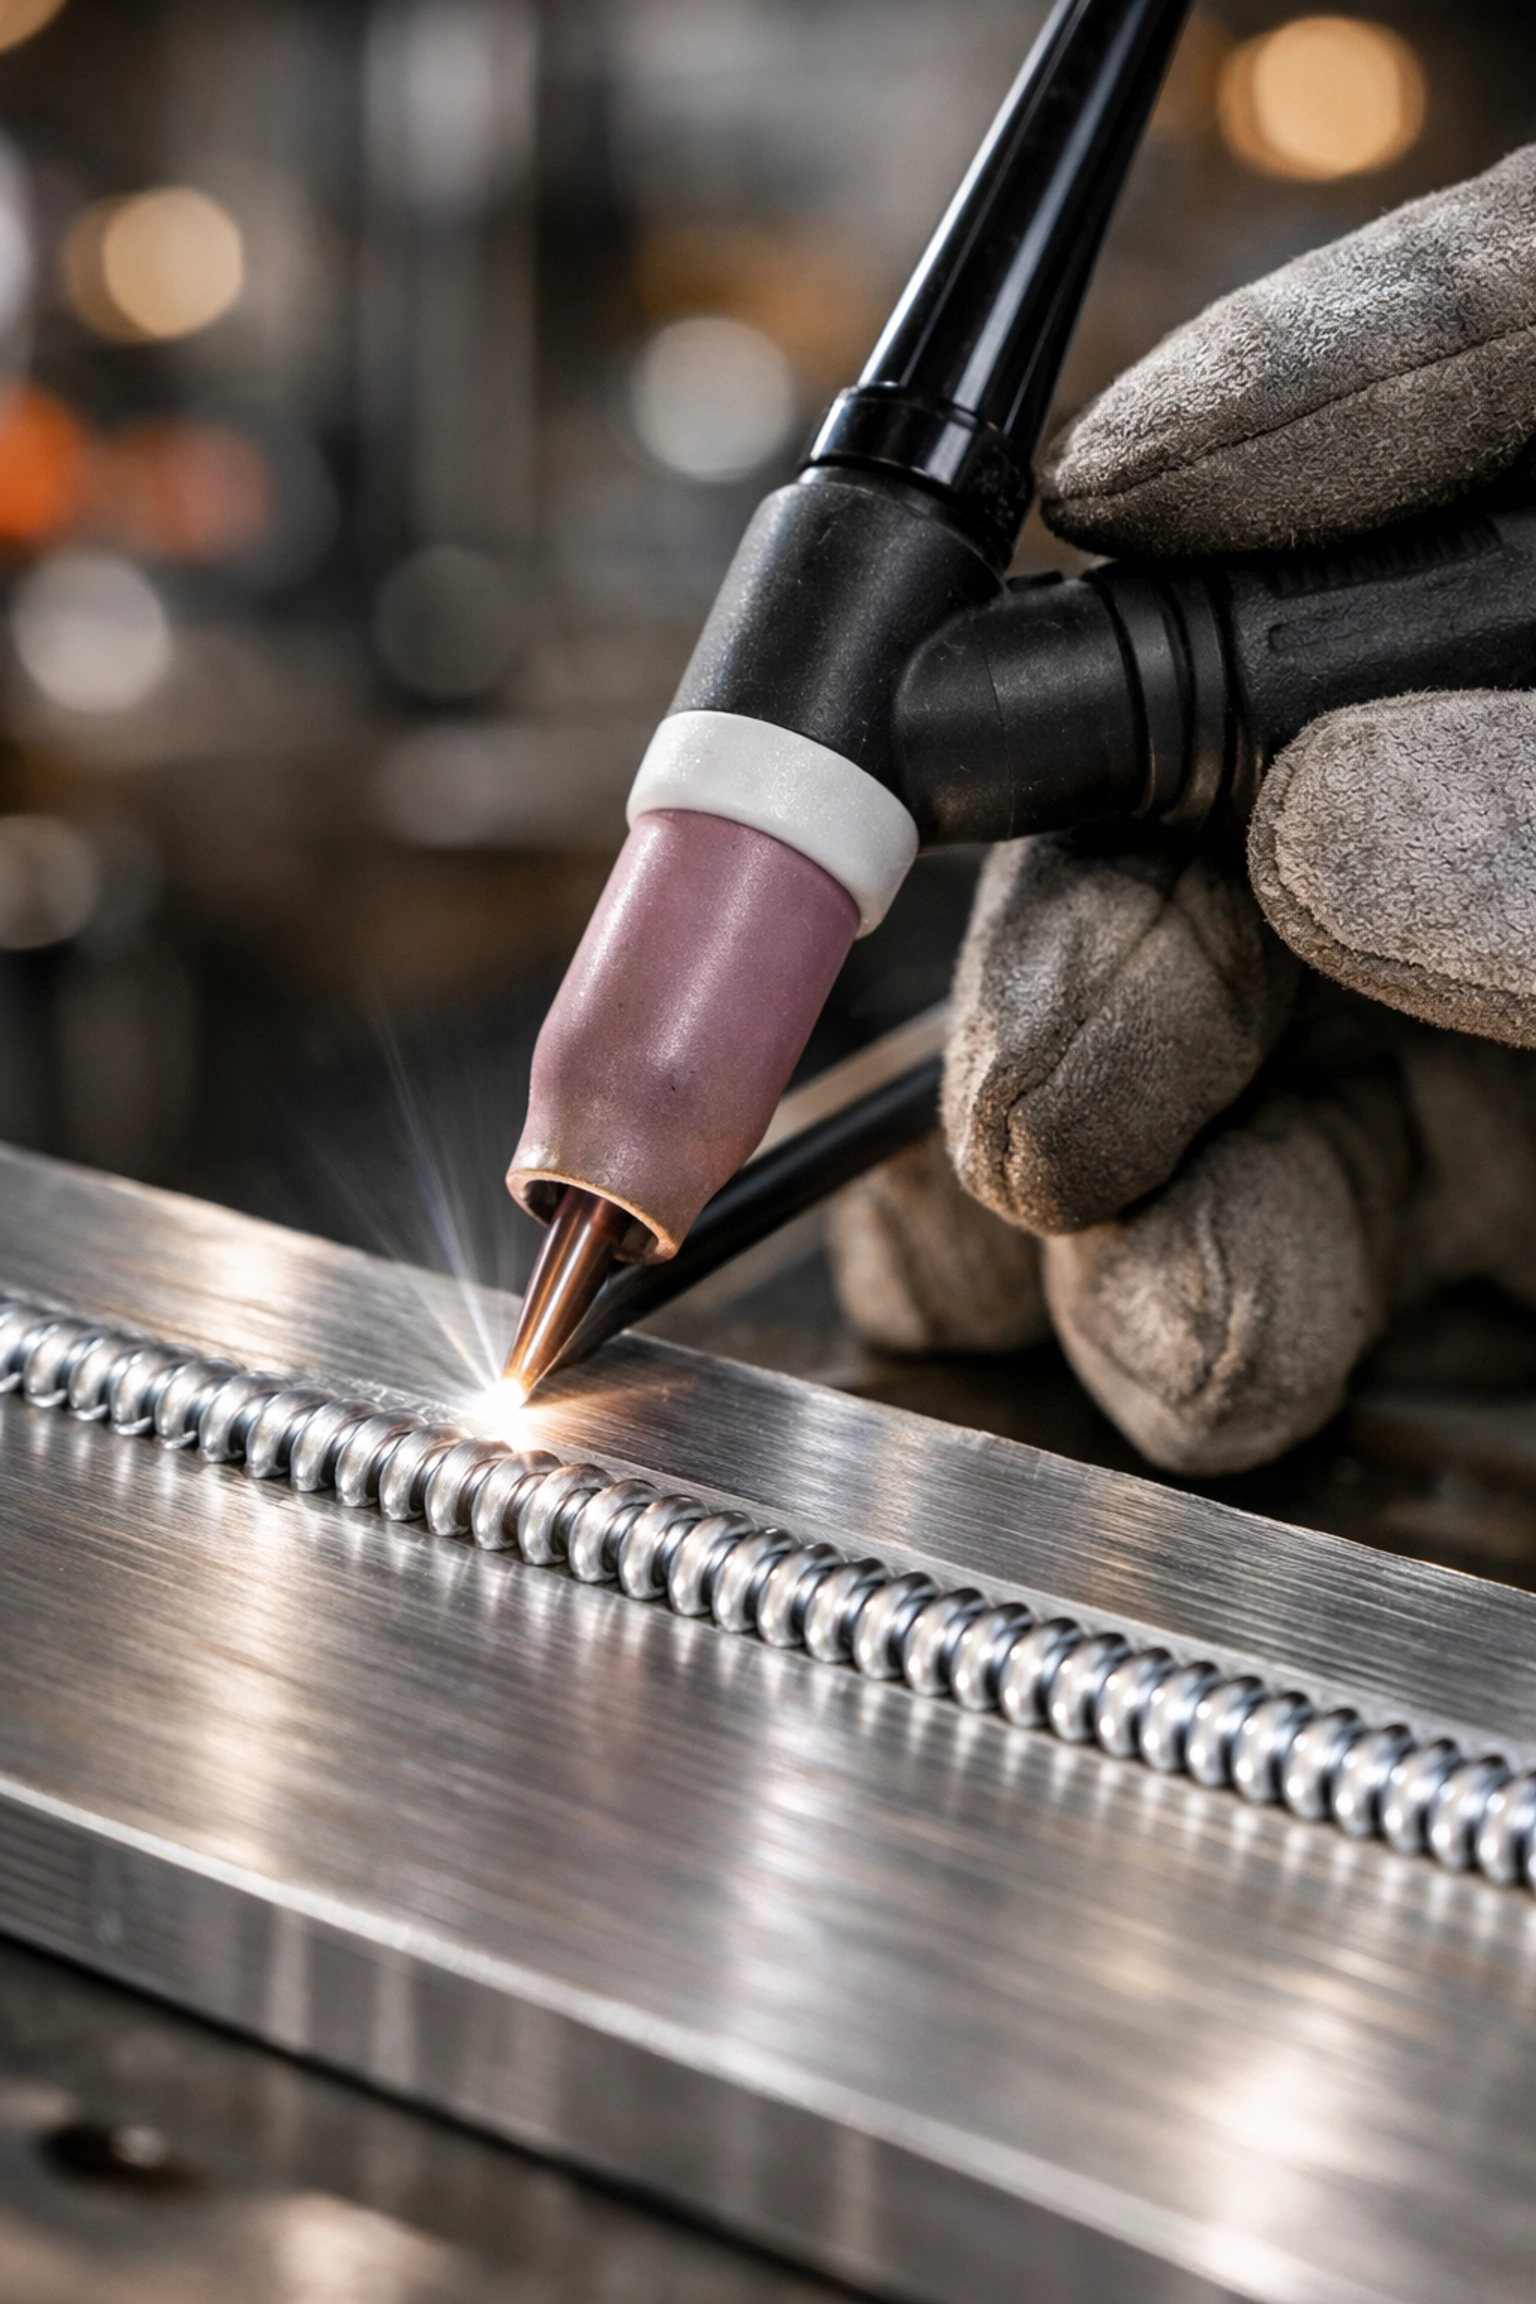
Technique Tips for Cleaner Welds
Even with the perfect gas and the perfect flow, your technique plays a massive role in how well that shielding gas works.
- The 75-Degree Angle: Keep your torch at roughly a 75-degree angle to the workpiece. If you lean the torch over too far (like you’re trying to look under it), the gas will shoot out across the metal rather than blanketing the weld pool.
- Arc Length: Keep your tungsten close! You should be aiming for an arc length of about 3mm to 5mm. If you pull the torch too far away, the "gas envelope" spreads out and thins out, leaving your weld vulnerable to the air.
- The Post-Flow Pause: This is a big one. When you finish a weld, don't just pull the torch away immediately. Your machine has a "post-flow" setting. Keep the torch over the end of the weld until the gas stops flowing. This protects the cooling metal and your tungsten electrode from oxidizing while they are still red-hot.
Which Bottle Size Do You Actually Need?
Choosing a cylinder size is all about balancing portability with how much welding you plan to do. Here’s a quick guide to our common sizes:
- 10 Liter Cylinder: Perfect for the "weekend warrior." It’s light enough (roughly 18-20kg) to move around the garage easily and fits into most small welding trolleys. If you’re doing small repairs or hobby projects, this is your go-to.
- 20 Liter Cylinder: The "sweet spot" for small workshops and serious DIYers. It offers significantly more gas than the 10L but is still manageable for one person to move.
- 50 Liter Cylinder: These are the big boys. If you’re a professional fabricator or running a busy workshop, our 50L cylinders are the most economical choice. Because we offer nationwide delivery, you don’t have to worry about how to get these heavy units back from the shop.
As an industrial gas supplier, we ensure all our bottles are filled to high pressures, giving you the maximum amount of gas for your money.
Safety First: Respect the Pressure
Working with high-pressure cylinders is perfectly safe as long as you follow a few basic rules.
- Secure the Bottle: Always make sure your cylinder is chained or strapped to a welding trolley or a wall. A falling cylinder can snap a valve off, turning it into a very dangerous projectile.
- Check for Leaks: Use a bit of soapy water on your regulator connections. If it bubbles, you’ve got a leak. Fixing a small leak can save you half a bottle of gas over a week!
- Ventilation: While Argon is "inert" (it doesn't explode), it does displace oxygen. Never weld in a tiny, sealed cupboard. Make sure you have a fresh air supply. For more details, check out our welding gas safety guide.
Ready to Master the Torch?
TIG welding is a journey. It takes patience, a steady hand, and the right equipment. By moving away from the headache of recurring rental fees and choosing a high-quality, rent-free Argon cylinder from Bottle Gases, you’re removing one of the biggest barriers to your success.
Whether you are building a custom exhaust for your car, a piece of garden furniture, or a structural masterpiece, having a reliable gas supply delivered right to your door means you can focus on what really matters: the weld.
Stop settling for grey, brittle welds. Grab a fresh bottle of Argon, dial in that flow rate, and see the difference that professional-grade gas makes. You’ve got the skills; now give them the protection they deserve.
Need help choosing the right bottle for your specific machine? Check out our full range of MIG and TIG welding gases or get in touch with our team today.